This complete walkthrough is for Level 8 of Escape If You Can.
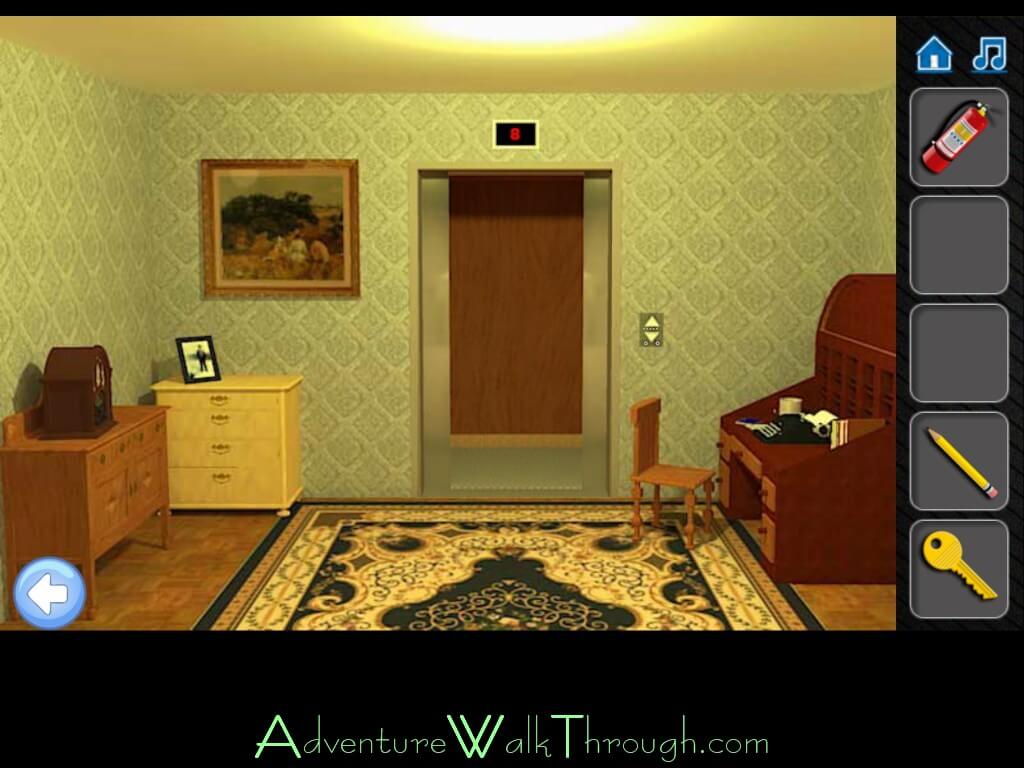
Overview: You need to find a way to escape the room. The only way to leave the room is through an elevator. In this stage, the elevator control panel is locked by a geometric shape passcode and two gears. Clues are scattered through out the two rooms. The clues contain hints to help you solve two puzzles.
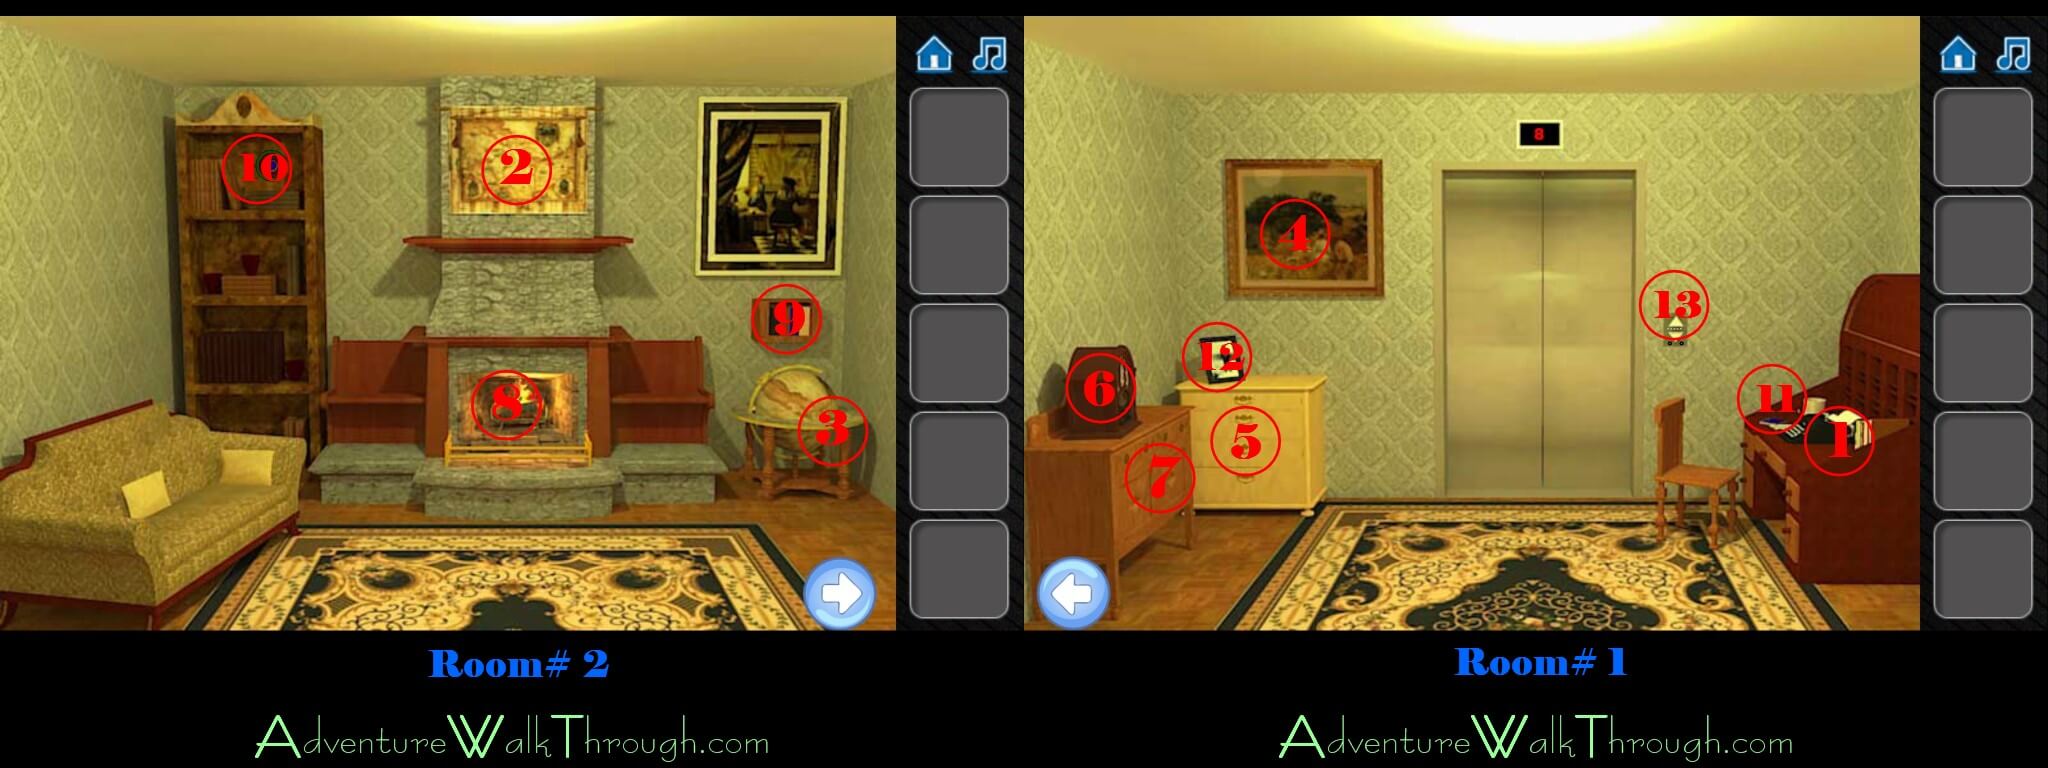
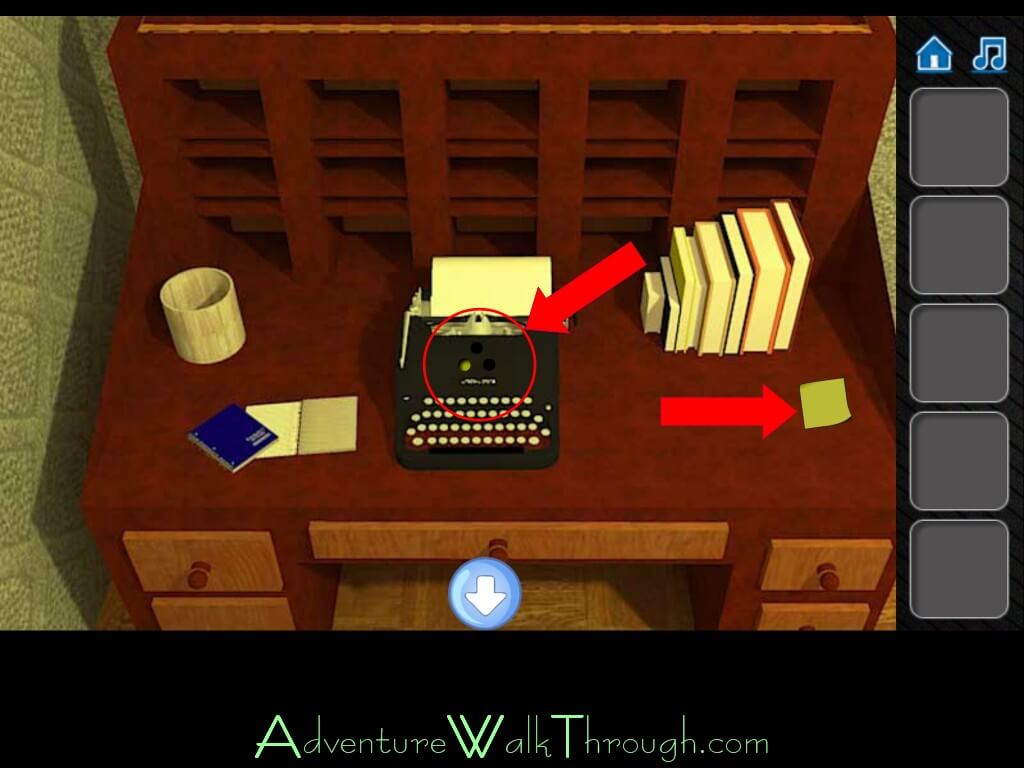
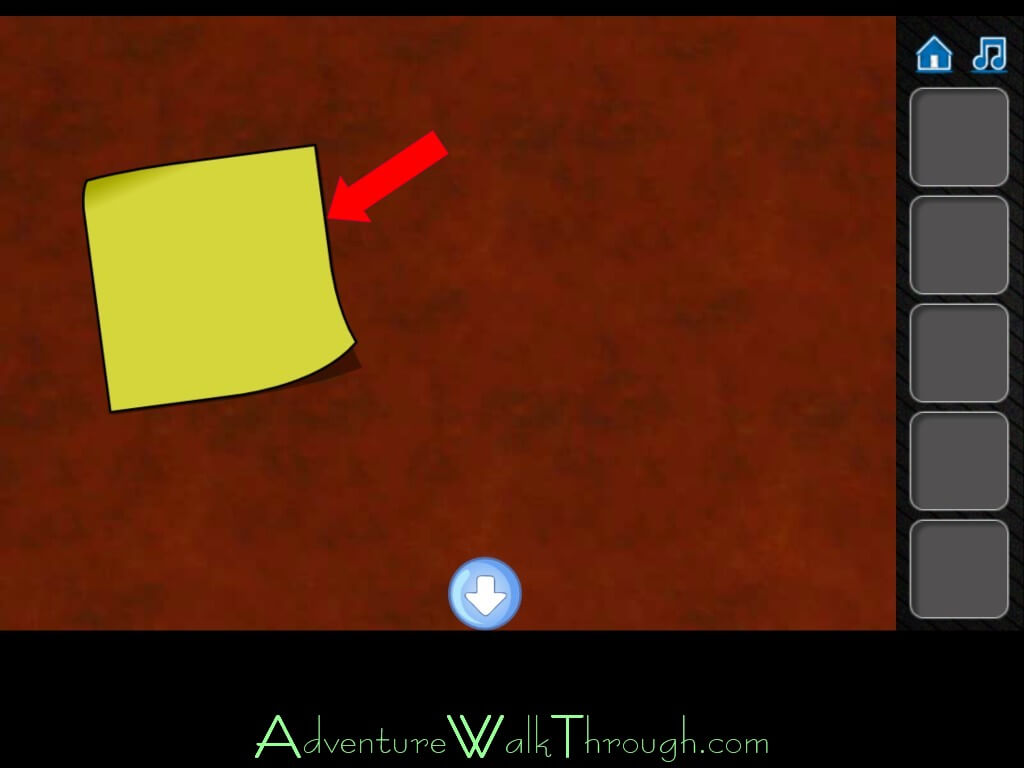
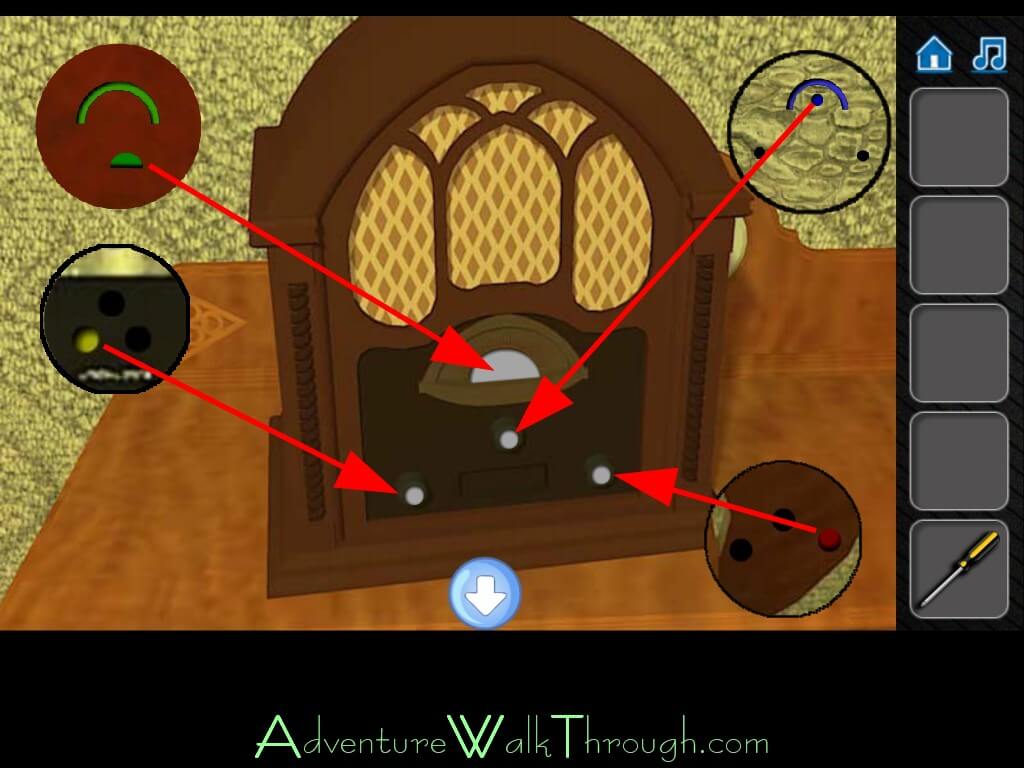
1. Desk: Notice that the typewriter has one yellow circle and two blank circles. That is the first clue. Look under the post-it note. There is a green semicircle and a green semicircle curve. That is your second clue.

2. Scroll: Go over to room#2. Look under the wall scroll. There is a blue semicircle curve, a blank circle followed by a blue circle and a blank circle.


3. Globe: Look under the globe. You will find another clue with two blank circles and a red circle.

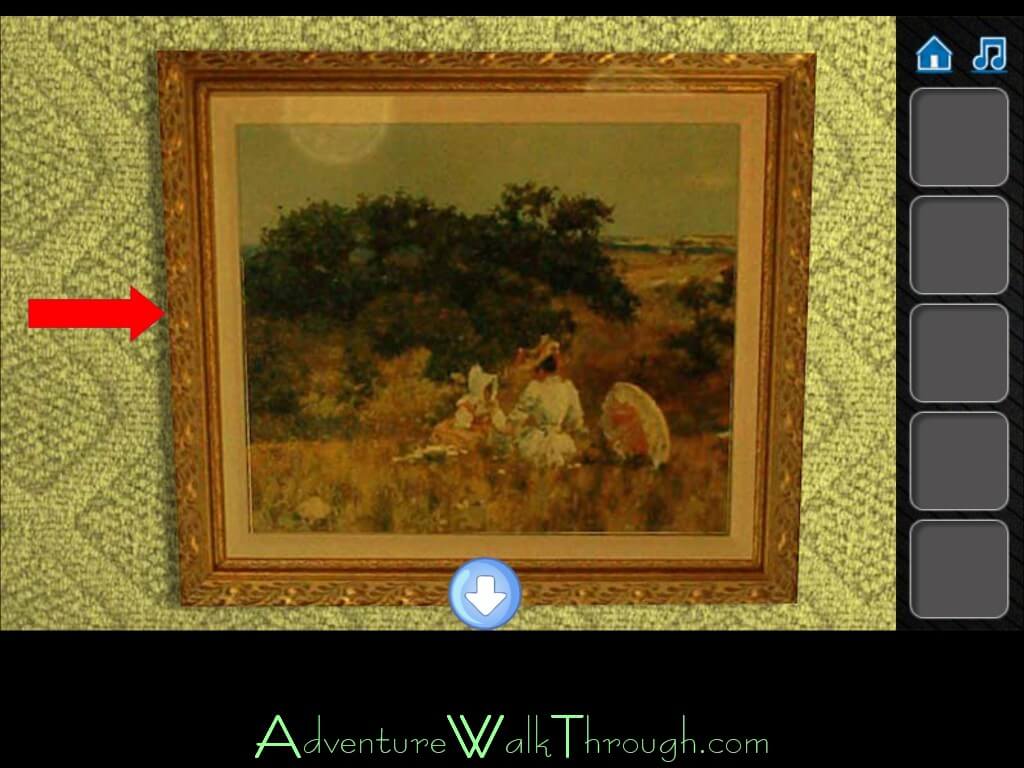
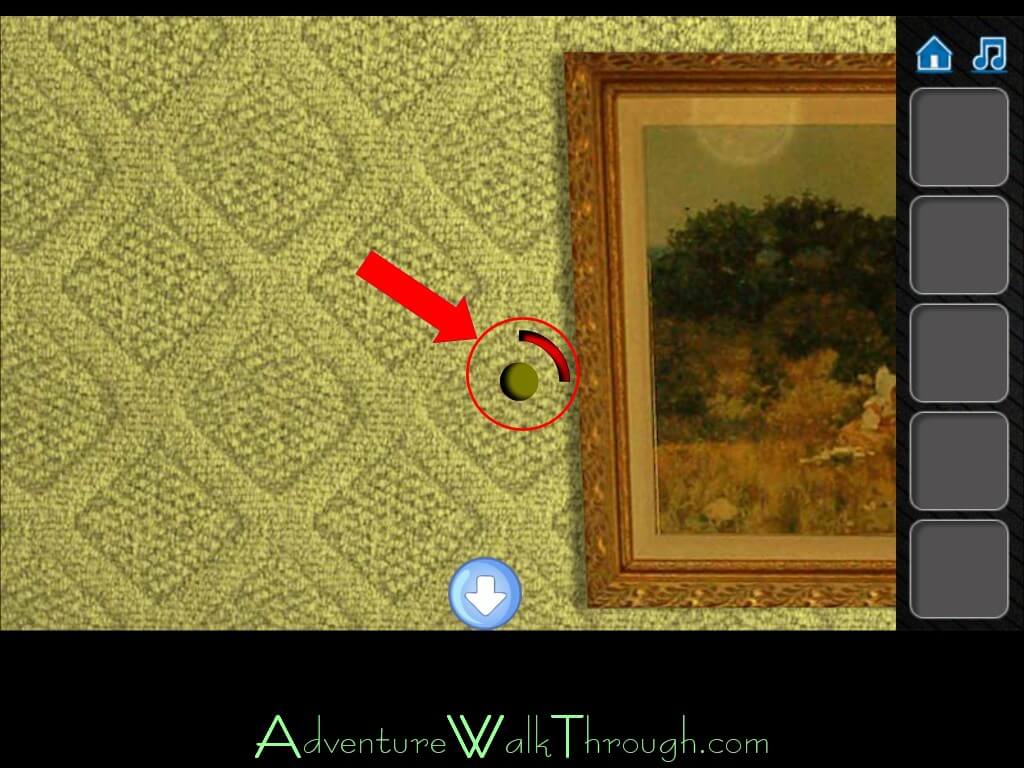
4. Painting: Go back to room#1. Look under the painting. You will see a yellow circle and a red quarter -circle curve.
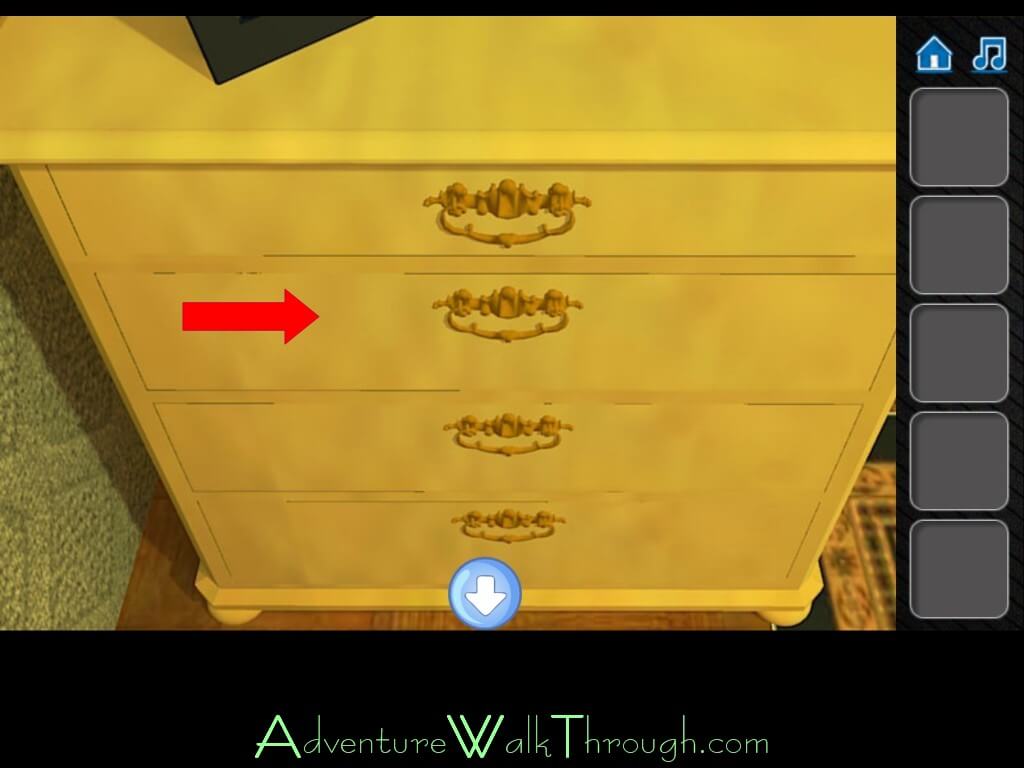
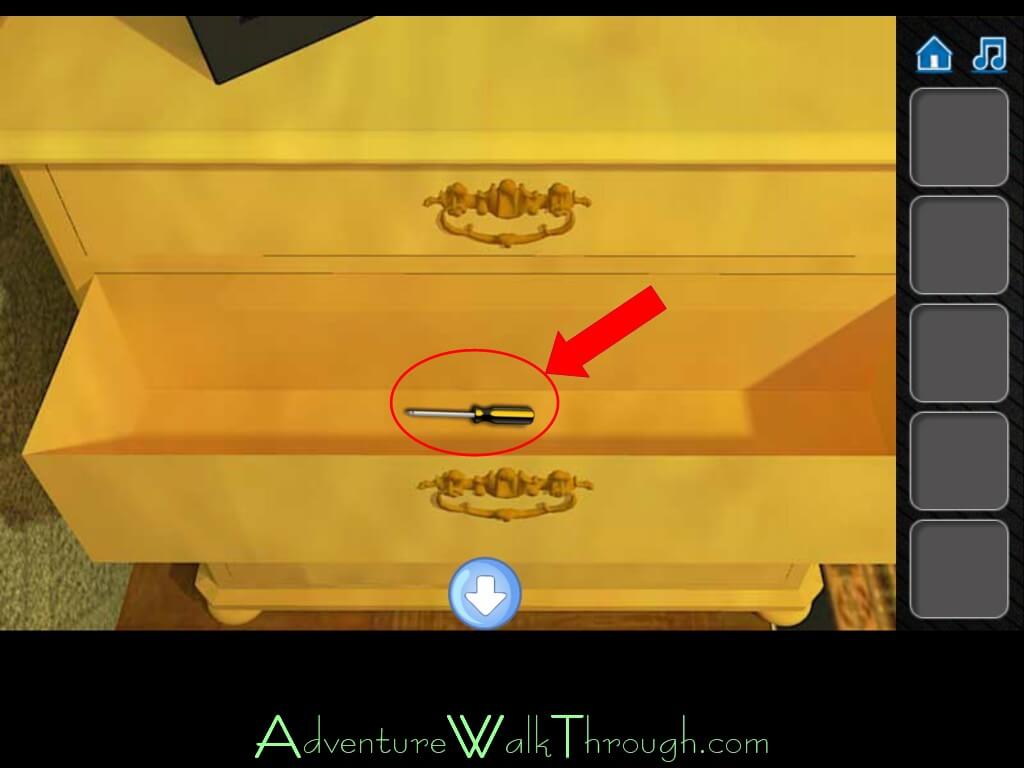
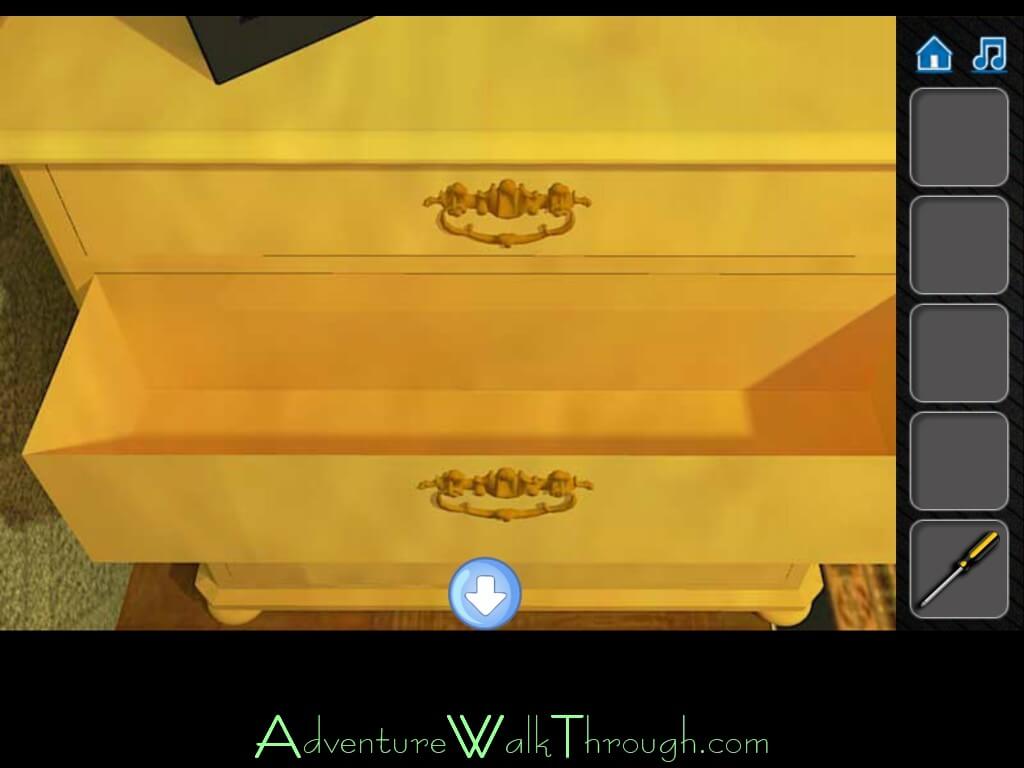
5. Dresser: Grab the screwdriver from the second drawer of the dresser.
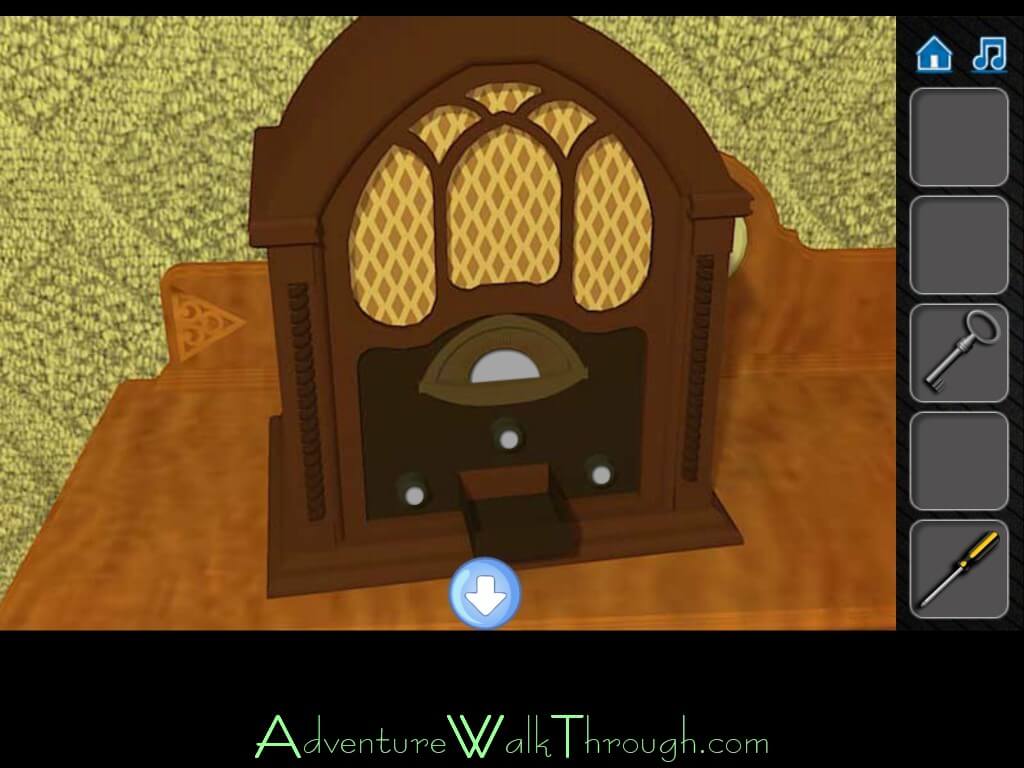
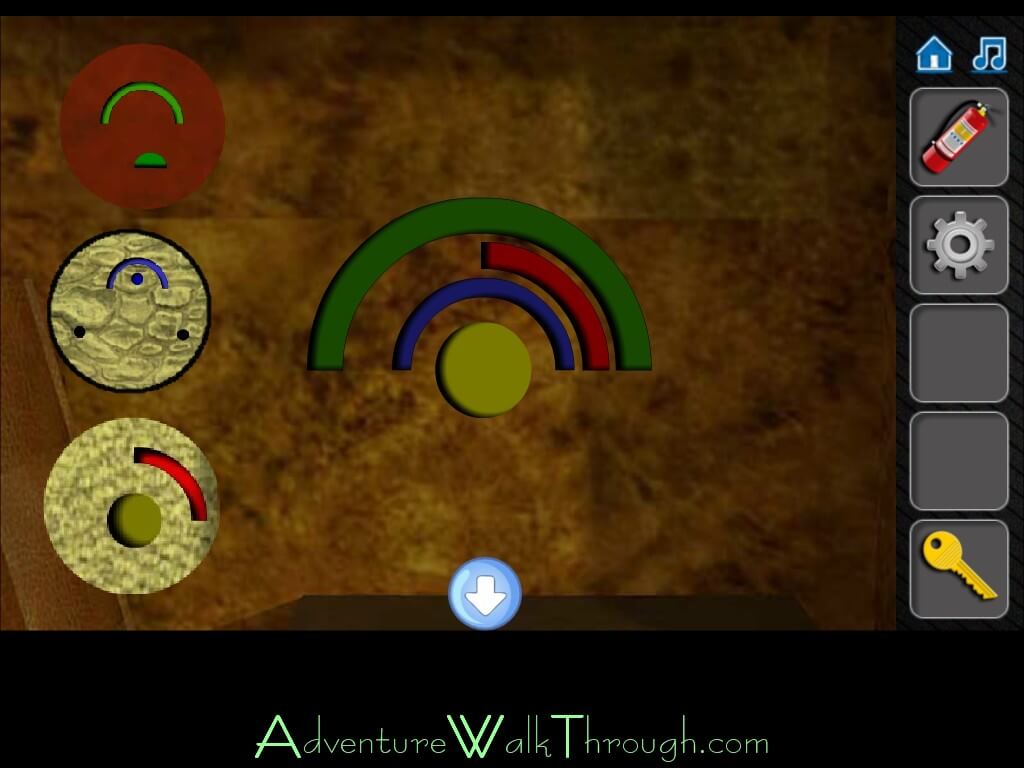
6. Radio: Now you are ready to solve the first puzzle. The top semicircle needs to be green. The circles beneath are yellow, blue, red. The secret compartment will open. Grab the key inside.


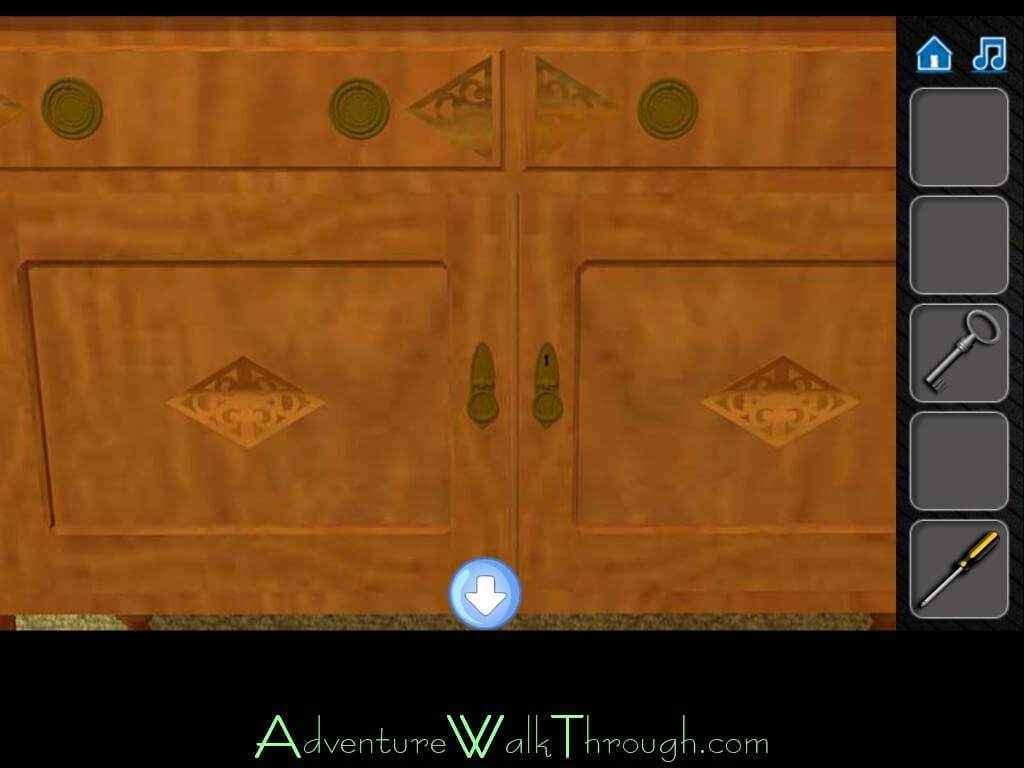
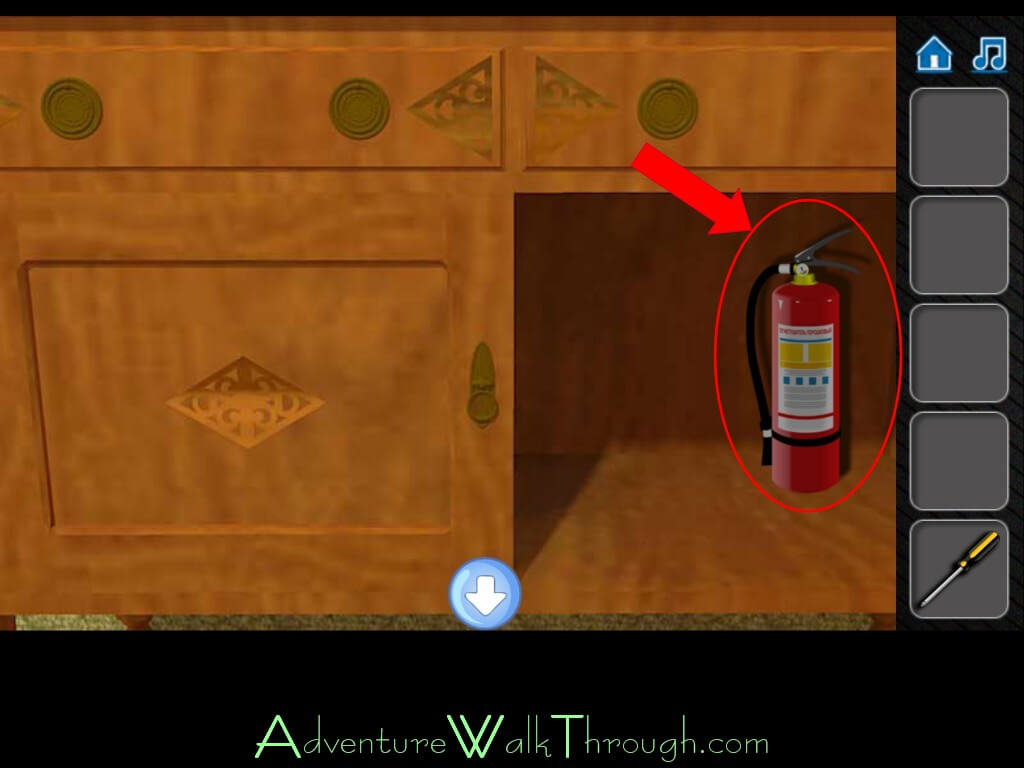
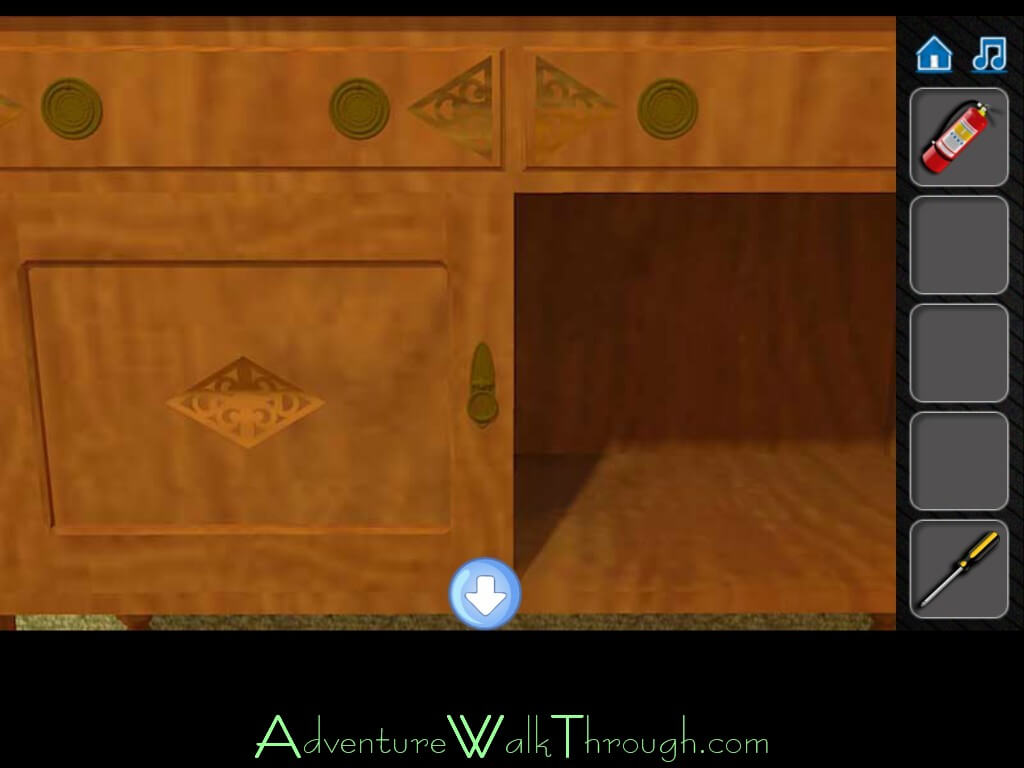
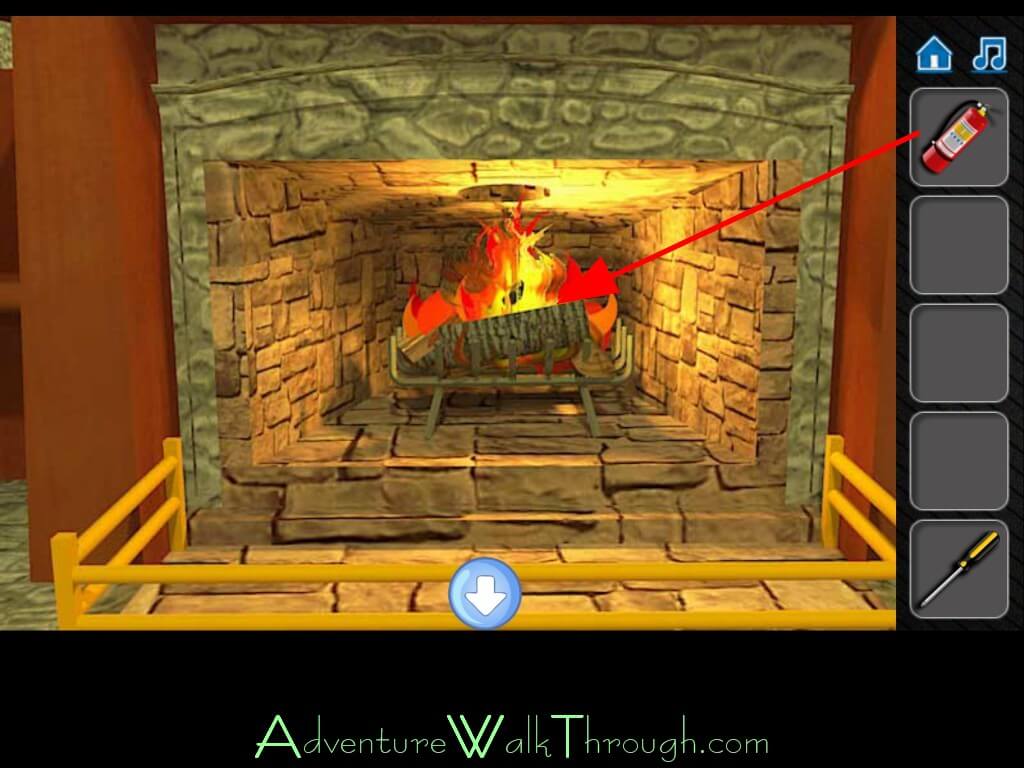
7. Cabinet: Use the key to open the cabinet beneath. Get the fire extinguisher.
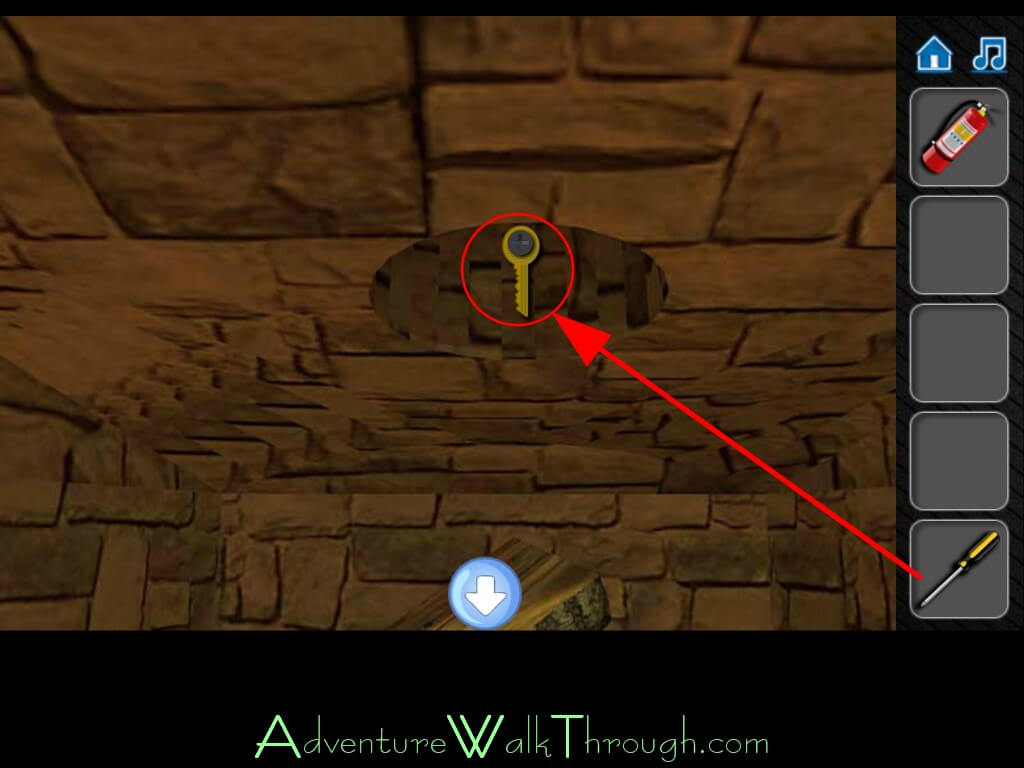
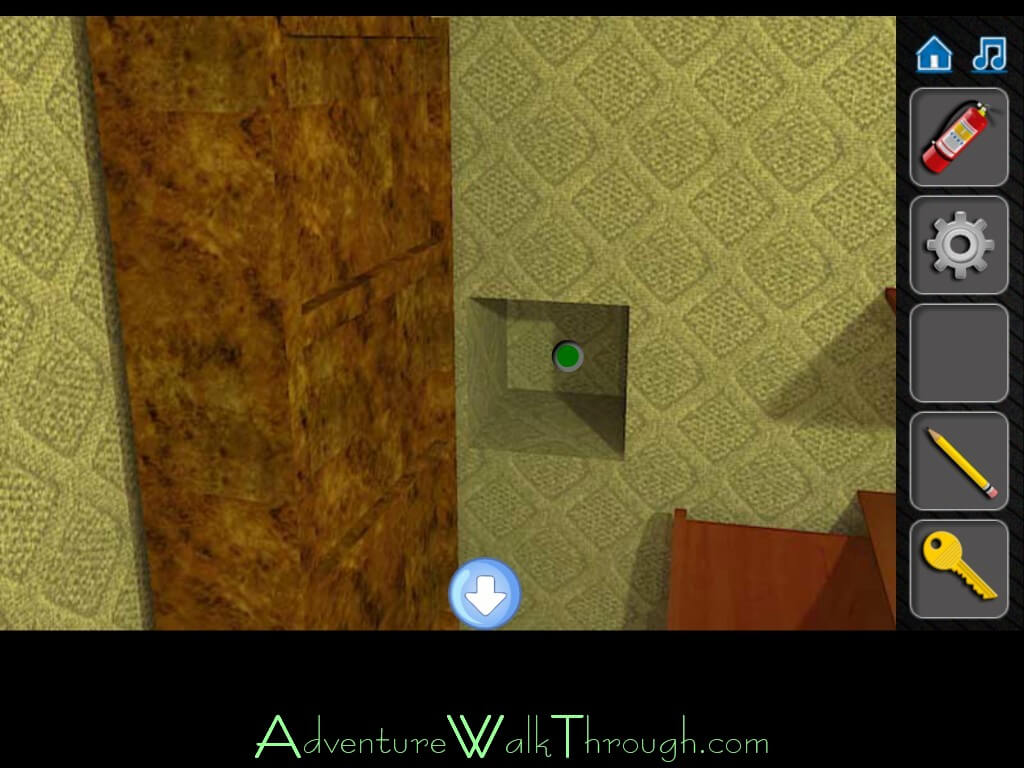
8. Fireplace: Go back to room#2. Put out the fire with fire extinguisher. Look closely. There is a hole with a key screw to the wall. Use the screwdriver to loosen the screw.


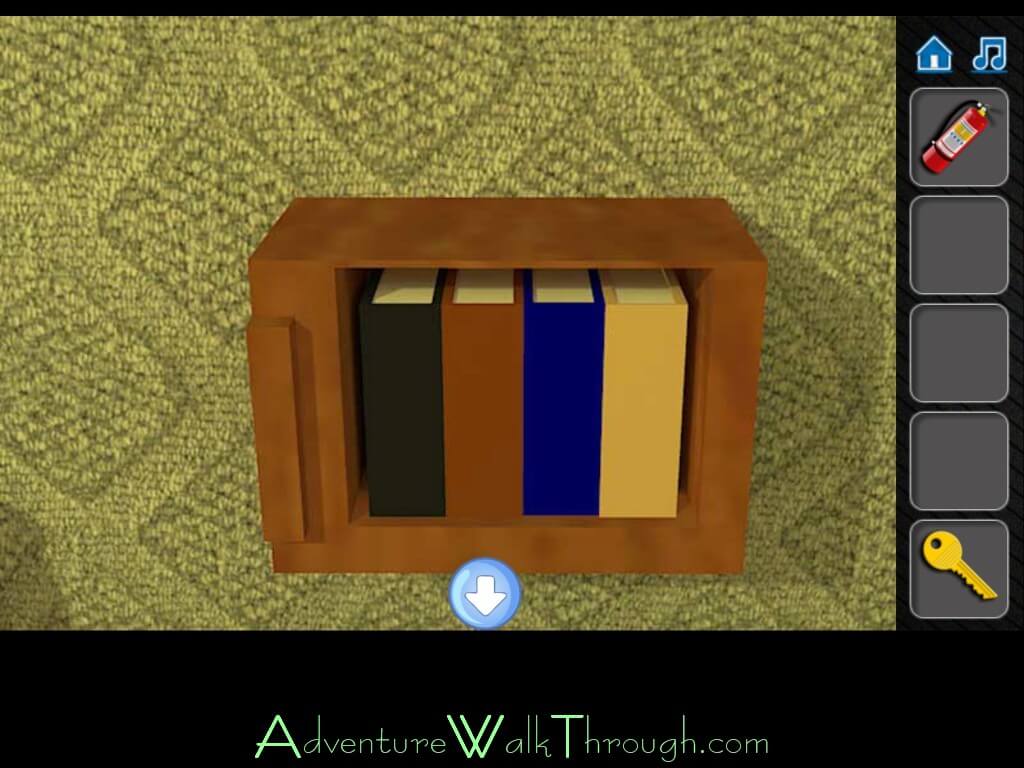
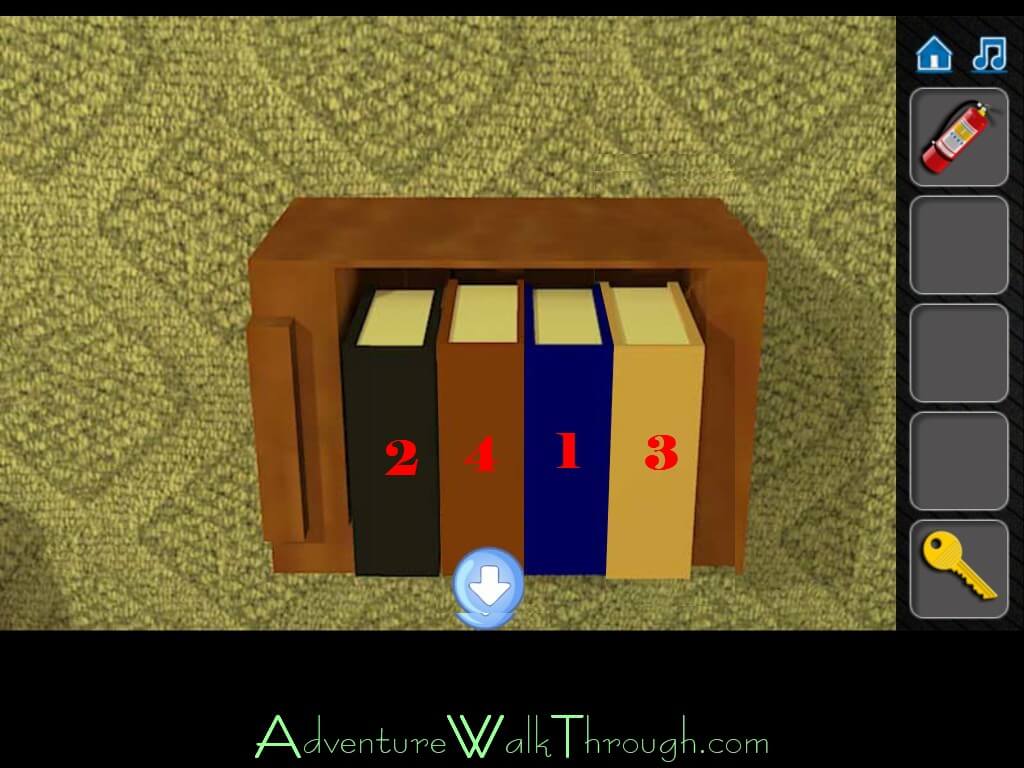
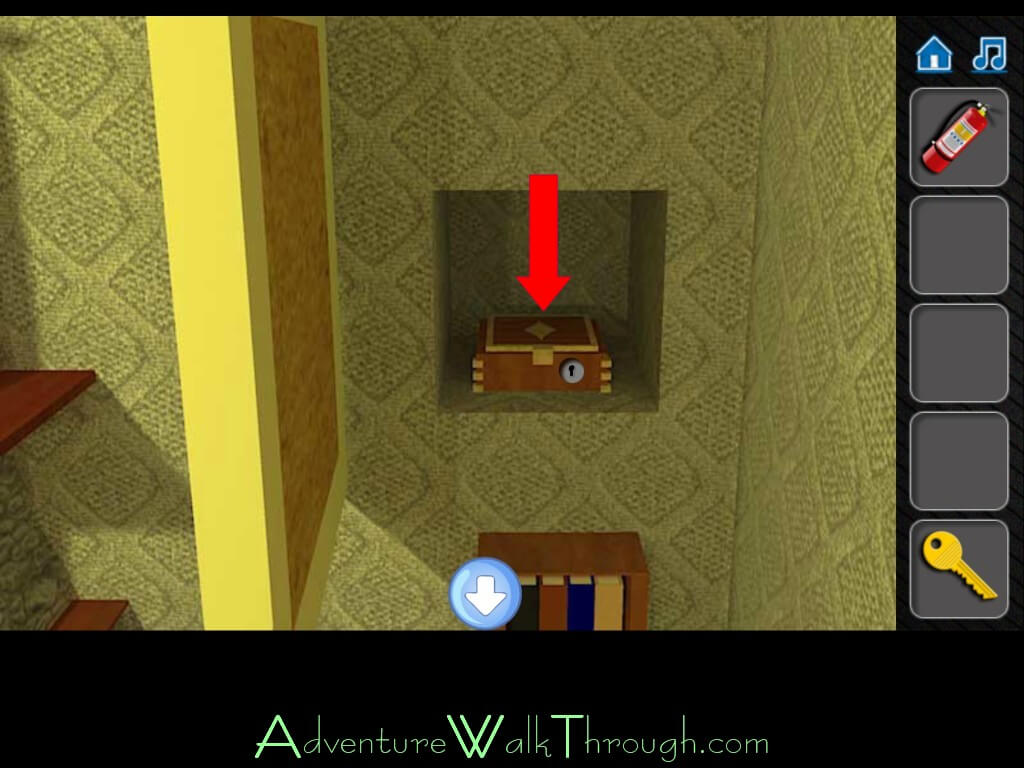
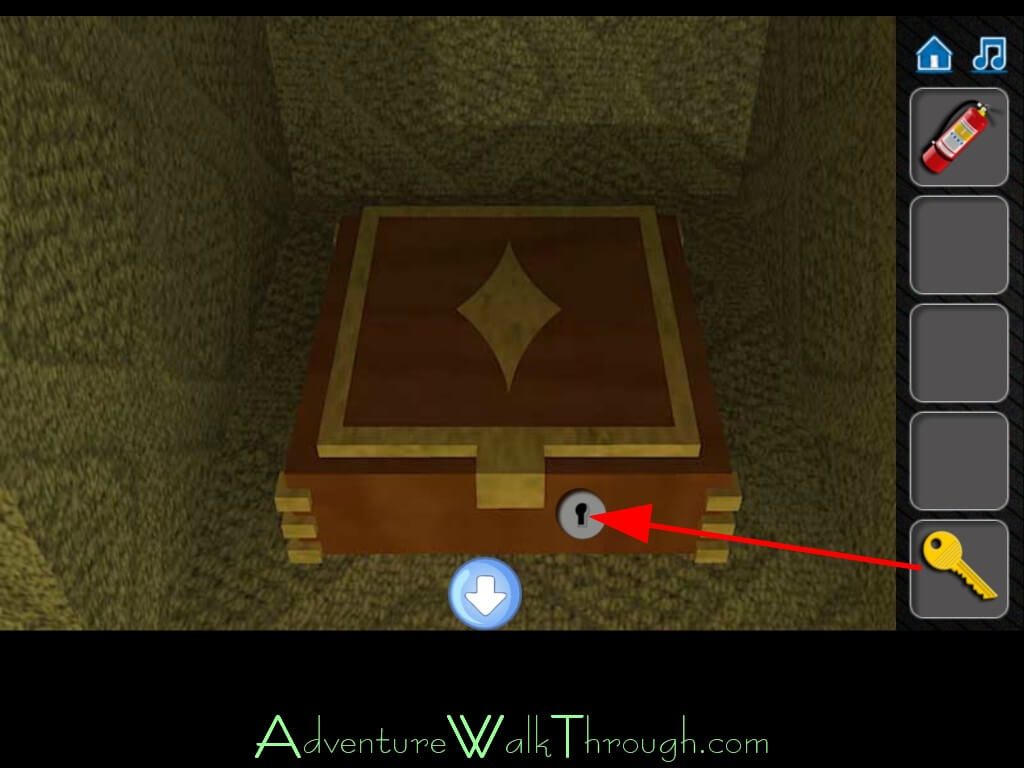
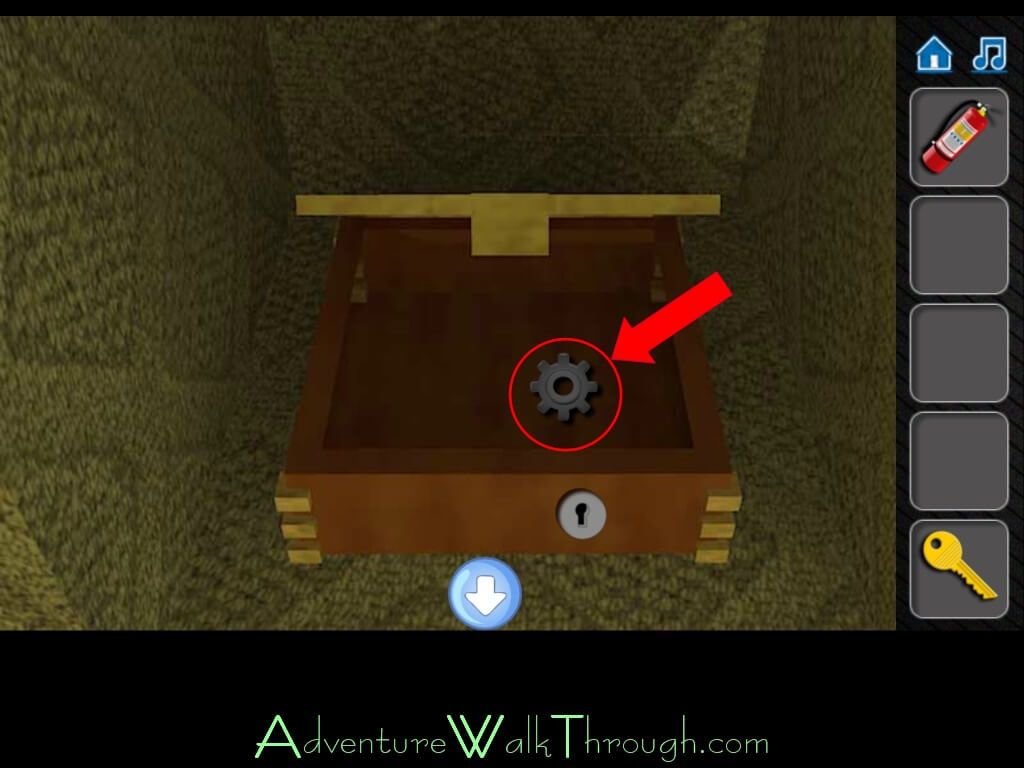
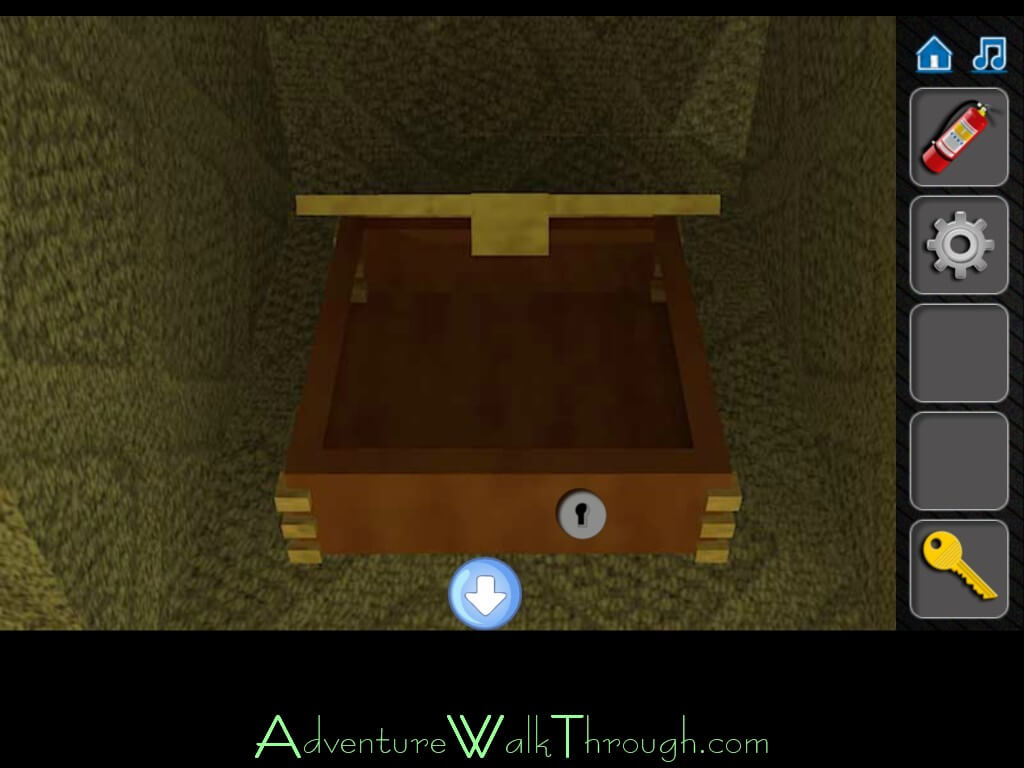
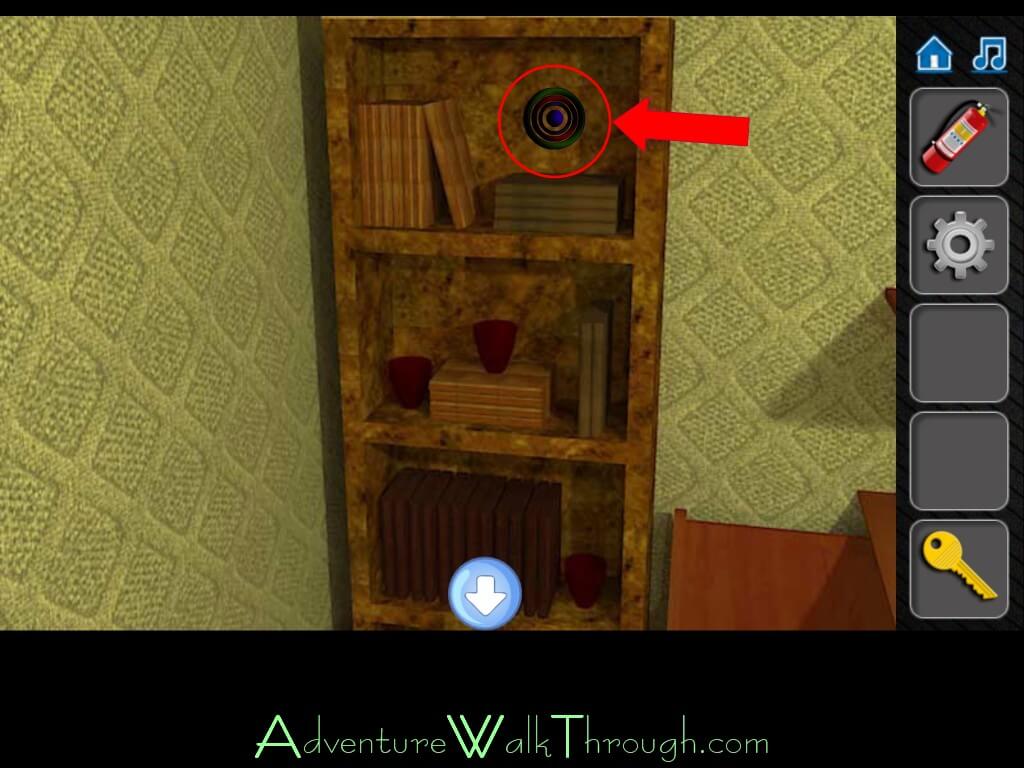
9. Books: There are a wall shelf with four books. Tap on the books in the order of blue, black, beige, brown. No clue is given on how this puzzle is solved, except the fact if you tap on the correct book, the correct book will stay sticking out. Use the key to open the box. Grab the gear inside.
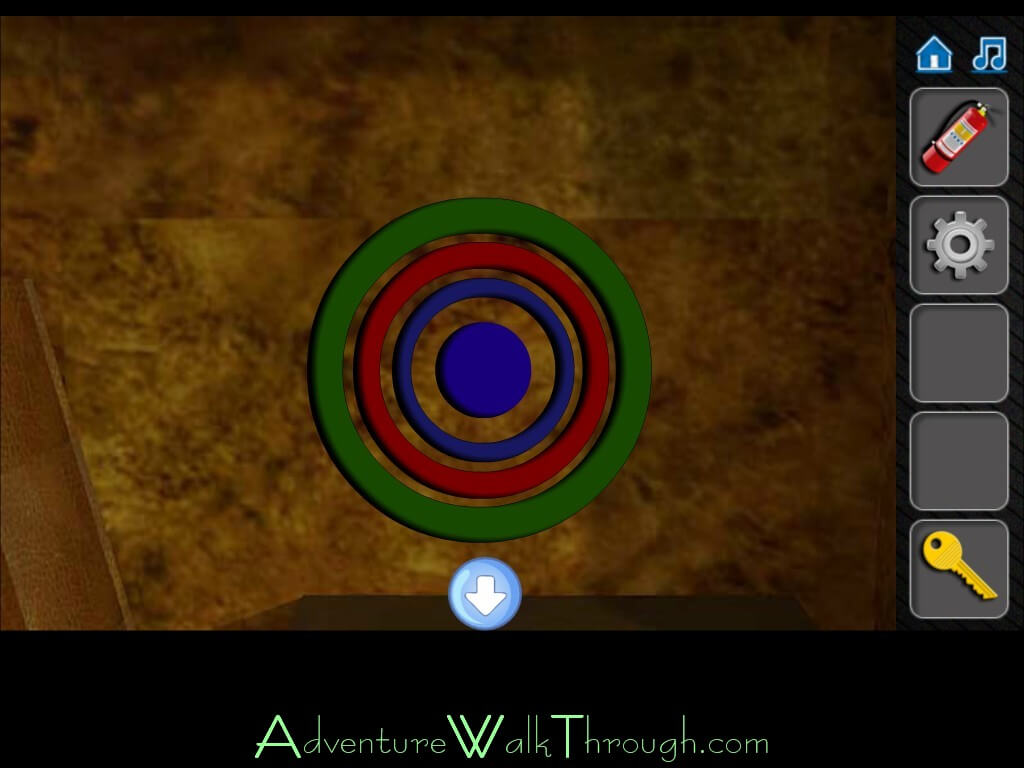
10. Bookshelf: There is a target board looking puzzle on the bookshelf. The circles need to be set as the following: green semicircle curve, red quarter-circle curve, blue semicircle curve, yellow circle. Get the pencil from inside. Turn the red light to green.


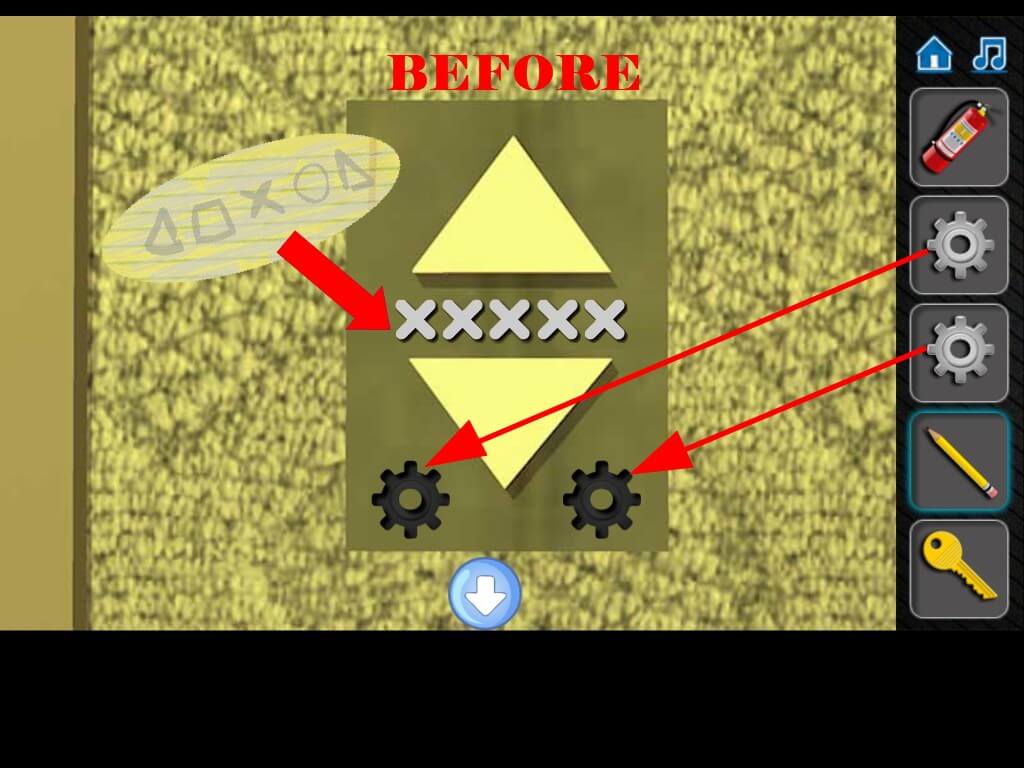
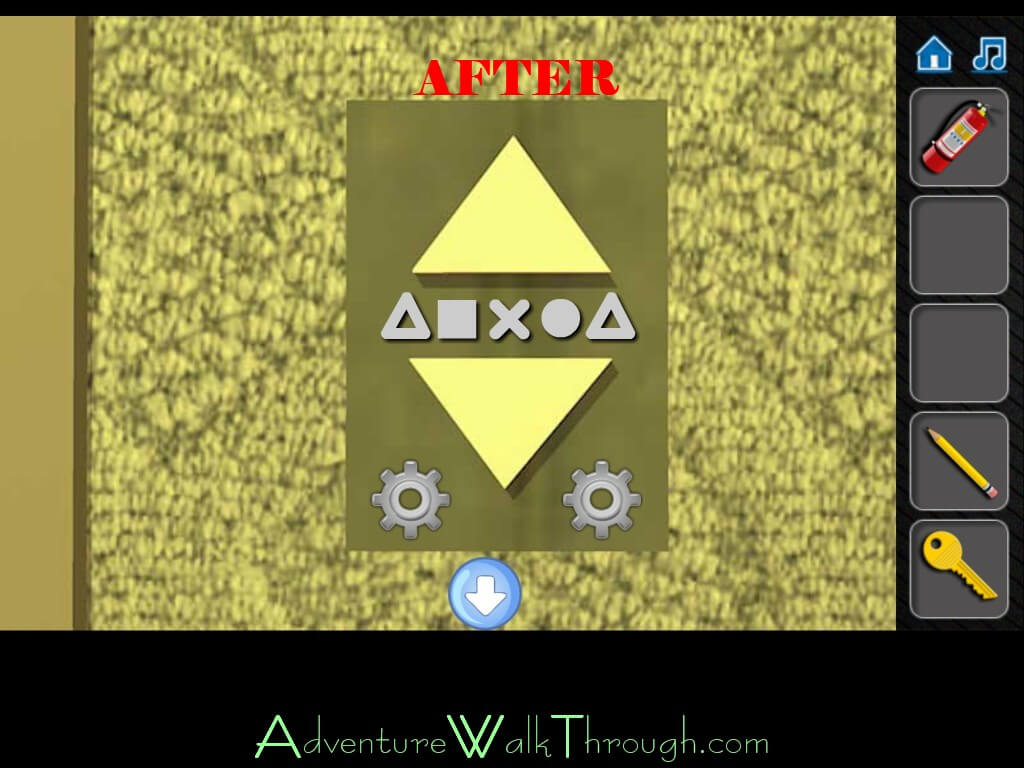
11. Notebook: Go back to room#1. Use the pencil to lightly draw on the notepad on the desk. Geometric shape passcode will reveal: triangle, square, cross, cross, circle, triangle.


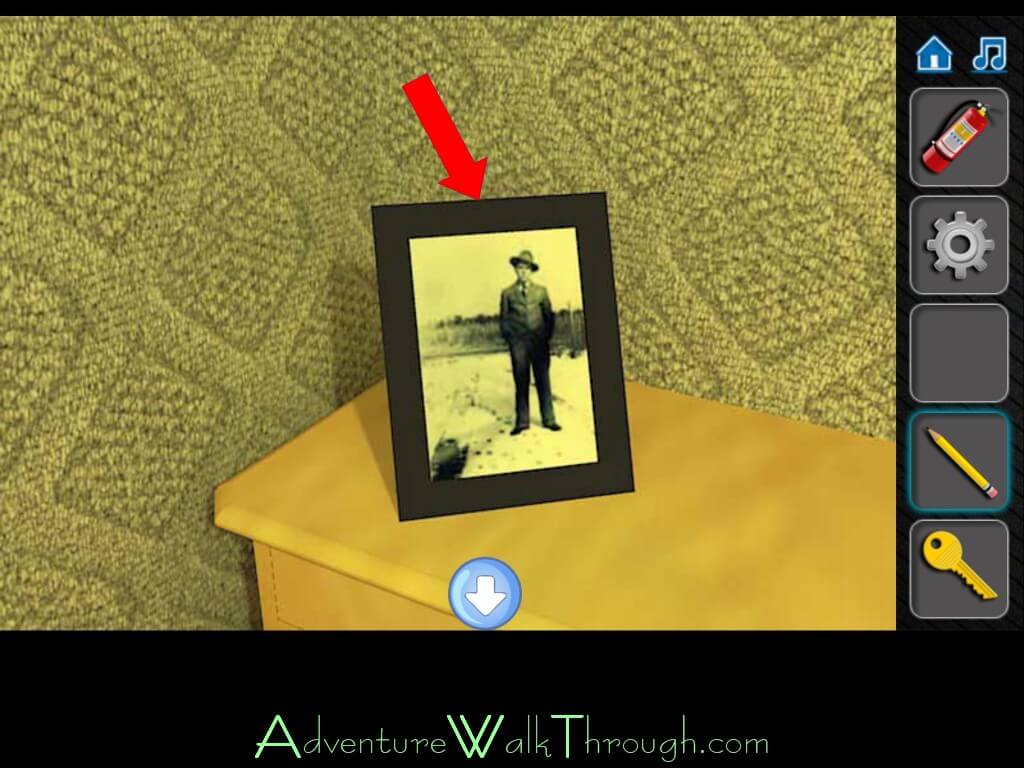
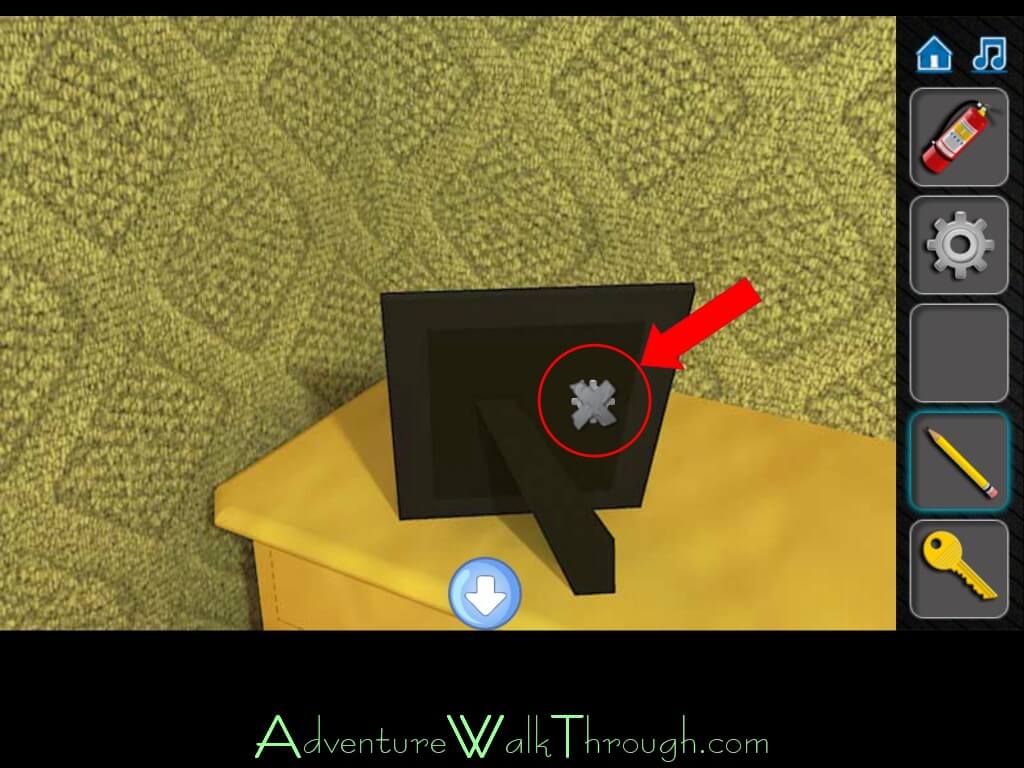
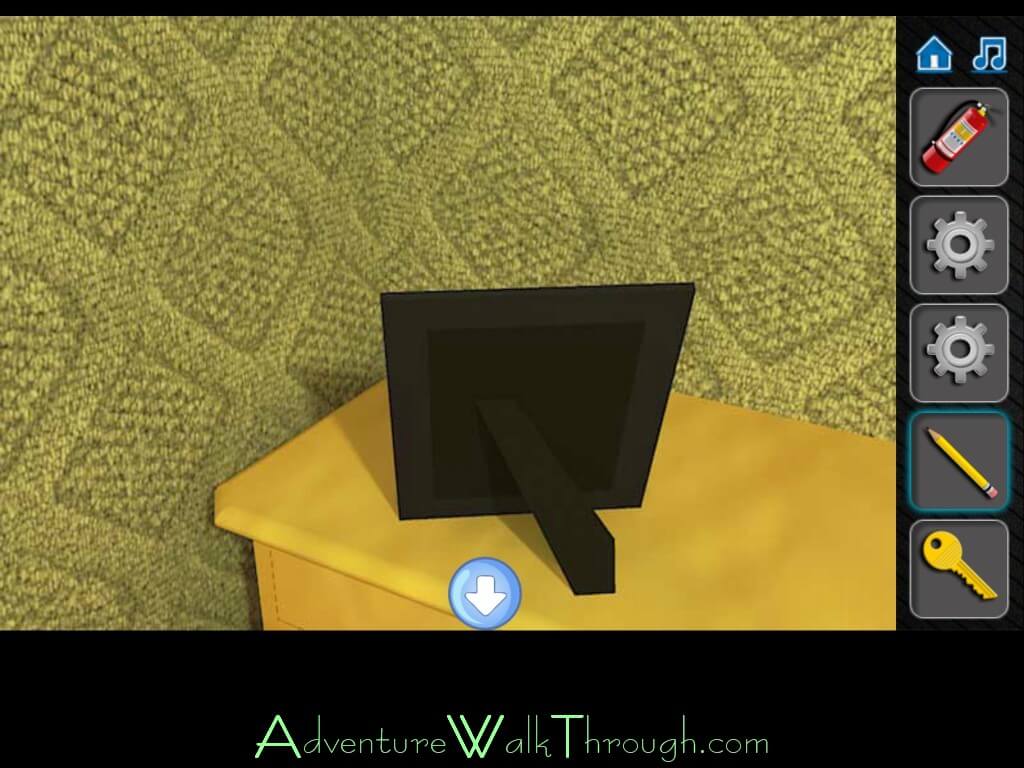
12. Photo: Turn the photo frame over. Get the gear taped to the back of the photo frame.
13. Exit: Insert both gears into the elevator control pad. Enter the passcode: triangle, square, cross, cross, circle, triangle. Elevator door will open. You have escaped!